


How to Install and Optimize Your New Windows 11 System | slotting, online horse betting, 29toto, slot200, huuuge casino slots vegas 777
Introduction
Windows 11 has revolutionized the PC experience with its stunning interface and advanced features. This tutorial will guide you through the installation process and provide optimization tips to enhance your system's performance.
Step 1: System Requirements Check
Before installation, ensure your PC meets the minimum system requirements for Windows 11. You’ll need a compatible 64-bit processor, at least 4GB of RAM, and 64GB of storage.
Step 2: Download Windows 11
Visit the official Microsoft website to download the Windows 11 installation tool. Follow the prompts to create a bootable USB drive for installation.
Step 3: Installation Process
Insert your bootable USB into the PC, reboot, and access the BIOS to set the USB drive as the primary boot device. Follow the on-screen instructions to complete the installation.
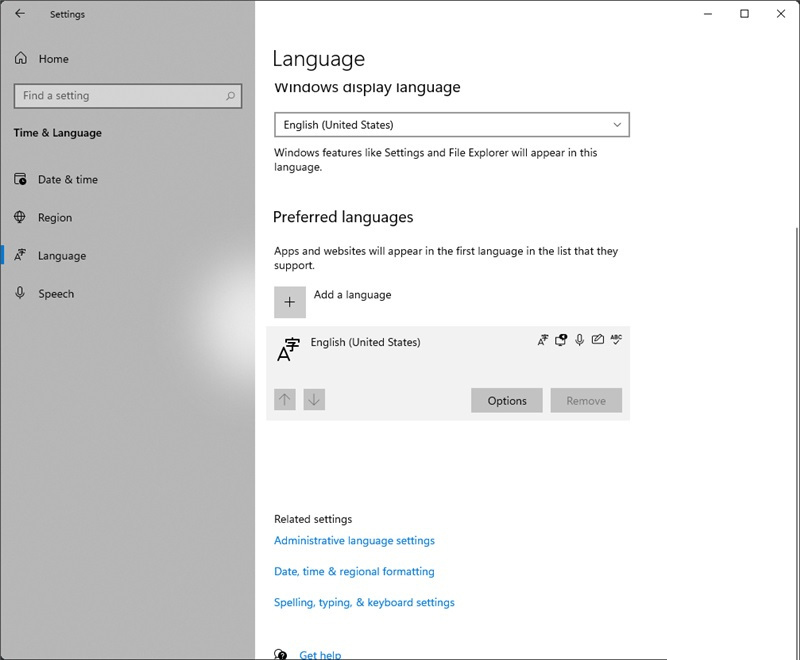
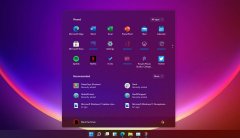
Step 4: Initial Setup
Once installed, go through the initial setup, including selecting your region, language, and connecting to Wi-Fi. Sign in with your Microsoft account for a personalized experience.
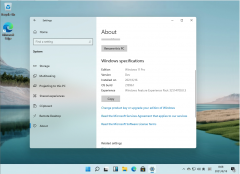
Step 5: Update Drivers
After installation, ensure all drivers are updated. Go to Settings > Update & Security > Windows Update and check for any pending updates.
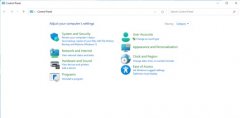
Step 6: Optimization Tips
To optimize your newly installed system, consider disabling unnecessary startup programs, adjusting visual effects for performance, and utilizing built-in tools like Storage Sense.
Conclusion
By following these steps, you can successfully install and optimize Windows 11, ensuring a smooth and efficient computing experience.
免责声明:All articles and pictures on this site are from user sharing and Internet collection. The copyright of articles and pictures belongs to the original author and original source. They are for learning and reference only. Please do not use them for commercial purposes. If your rights are damaged, please contact the website customer service.
Related articles
-

Five Must-Have Apps
Explore five must-have apps that can transform your Windows work environment for improved productivity and efficiency. Topics: china live result, logi...
2026-07-01 -
Top 7 Essential Apps
Discover the top 7 essential apps every Windows user should download for enhanced productivity and system performance. Topics: liga558 slot, tiktok 88...
2026-07-01 -
Maximize Your Downlo
Learn the best practices for downloading software safely and efficiently. Maximize your downloads with our expert tips. Topics: kks88 slot, games papa...
2026-07-01 -
Unlocking the Power
Discover essential software tools to enhance your Windows system‘s performance. Optimize your PC with our ultimate guide. Topics: cara bermain sbobet8...
2026-07-01 -
Top 10 Free Software
Discover the top 10 free software downloads for Windows users in 2023. Enhance your system‘s functionality without spending a dime! Topics: metaspin88...
2026-07-01


