


Your Ultimate Guide to Installing TiviMate IPTV Player Effectively | rtp ug808, orion online casino, 388hero login, judi slot online garuda999, zentogel keluaran hk
With the ever-growing landscape of digital entertainment, IPTV players have become increasingly popular. One of the standout options is the TiviMate IPTV Player, which has gained significant traction among users for its user-friendly interface and extensive features. As the demand for seamless streaming experiences rises, knowing how to install and set up TiviMate becomes essential for anyone looking to enhance their viewing pleasure. Let's dive into the latest version update and explore the installation process.
Understanding TiviMate IPTV Player
TiviMate is designed for those who enjoy online streaming, providing access to various channels and content through IPTV services. The latest version, which we'll focus on today, promises enhanced functionality and improved user experience, making it a worthwhile addition to your streaming toolkit.
Why Choose TiviMate?
- Customizable Interface: Tailor your viewing experience with user-configurable settings.
- Multiple Playlist Support: Easily manage multiple IPTV sources and playlists.
- User Authentication: Securely log in to your preferred IPTV service.
- Electronic Program Guide (EPG): Access program listings to plan your viewing.
Installation Steps for TiviMate IPTV Player
Installing TiviMate is a straightforward process. Follow these steps to get started:
Step 1: Prepare Your Device
Ensure that your device is compatible with TiviMate. The player is available on various platforms, including Android devices, Firestick, and Android TV. Make sure your device has sufficient storage and is connected to a stable internet connection.
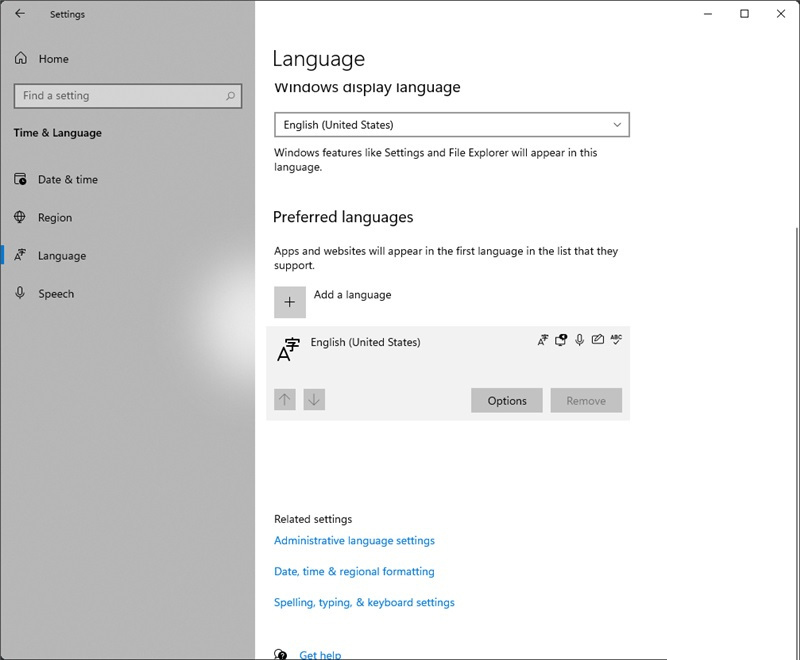
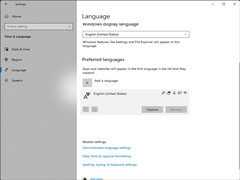
Step 2: Enabling Unknown Sources
To install apps from sources outside the official store, you need to enable 'Unknown Sources'. On your device, navigate to:
- Settings
- Security & Restrictions
- Unknown Sources – toggle this option to allow installations from unknown sources.
Step 3: Downloading the TiviMate APK
Once the settings are adjusted, it's time to download the TiviMate APK file. You can do this using the following methods:
- Using a Web Browser: Open your preferred browser and search for the TiviMate APK. Make sure to download it from a reliable source.
- Using a Downloader App: If you have a downloader app, enter the URL of the TiviMate APK to download it directly.
Step 4: Installing TiviMate
After downloading the APK file, locate it in your device’s file manager and follow these steps:
- Open the APK file.
- Click 'Install' and wait for the installation to complete.
- Once installed, open TiviMate to start setting up your account.
Setting Up Your TiviMate Account
After installation, you'll need to set up your TiviMate account to access your IPTV service:
Logging In
Launch the TiviMate app and select the option to log in. You will need your IPTV provider's credentials. Input your username and password to access the content.
Adding Your Playlist
Once logged in, add your IPTV playlist. You can usually get a URL from your IPTV provider that you can enter in TiviMate:
- Go to the settings menu.
- Select 'Add Playlist' and input the playlist URL.
- Save the configuration to start viewing your channels.
Final Thoughts
Installing TiviMate IPTV Player opens up a world of streaming possibilities. Given the recent updates and features, this player stands out in the crowded market of IPTV applications. By following this guide, you can set up TiviMate quickly and start enjoying an enhanced viewing experience. Whether it’s for accessing your favorite channels or for indulging in on-demand content, TiviMate is a great choice that remains relevant in today's ever-evolving digital landscape.
免责声明:All articles and pictures on this site are from user sharing and Internet collection. The copyright of articles and pictures belongs to the original author and original source. They are for learning and reference only. Please do not use them for commercial purposes. If your rights are damaged, please contact the website customer service.
Related articles
-

Unlock Your PC's Pot
Discover the must-have software to boost your Windows PC‘s performance. Learn how to download, install, and update essential apps and tools. Topics: a...
2026-06-25 -
New AI Model Uncover
Learn how a groundbreaking AI model exposed security flaws in government systems. Discover implications and what it means for cybersecurity. Topics: b...
2026-06-25 -
The Future of Softwa
Explore the key trends shaping the future of software downloads in 2024. Stay ahead of the curve with our expert insights. Topics: koin88 com, slot288...
2026-06-25 -
Your Definitive Guid
Learn how to update your Windows software regularly with our definitive guide. Keep your system secure and efficient with timely updates. Topics: hari...
2026-06-25 -
Essential PC Downloa
Explore the latest insights on essential PC downloads and tutorials for 2026. Stay ahead in tech with our expert guide! Topics: live draw togel canadi...
2026-06-25


