

The Essential Guide to Installing Software on Windows: Step-by-Step Tutorial
Understanding Software Installation on Windows
Installing software on your Windows PC can seem like a daunting task, especially if you're unfamiliar with the process. However, with technology continually evolving, installing apps has become more user-friendly. This guide will take you through the essential steps to effectively install software on your Windows system.
1. Preparing Your System for Installation
Before you begin the installation process, ensure your system meets the software’s requirements. Check the system specifications, such as memory, processor speed, and available disk space. This information is usually found on the software’s official website.
2. Downloading Software Safely
To download software, navigate to the official website or a trusted source to avoid malicious downloads. Look for a dedicated 'Download' button. After clicking it, your browser will typically prompt you to save the file. Save it in a location you can easily access, such as the Desktop or Downloads folder.
3. Running the Installer
Once the download is complete, navigate to the saved file. Double-click the installer file, which usually has a .exe or .msi extension. If prompted by User Account Control (UAC), click 'Yes' to allow the program to make changes to your device.
4. Following Installation Prompts
The installer will guide you through the installation process. Read each prompt carefully. You may be asked to accept the license agreement, which is a standard procedure. It's crucial to understand the terms before proceeding.
5. Customizing Your Installation
Many software applications provide options for a custom installation. This allows you to choose where to install the software and whether to include additional components. If you’re uncertain, the default settings are usually optimized for most users.
6. Completing the Installation
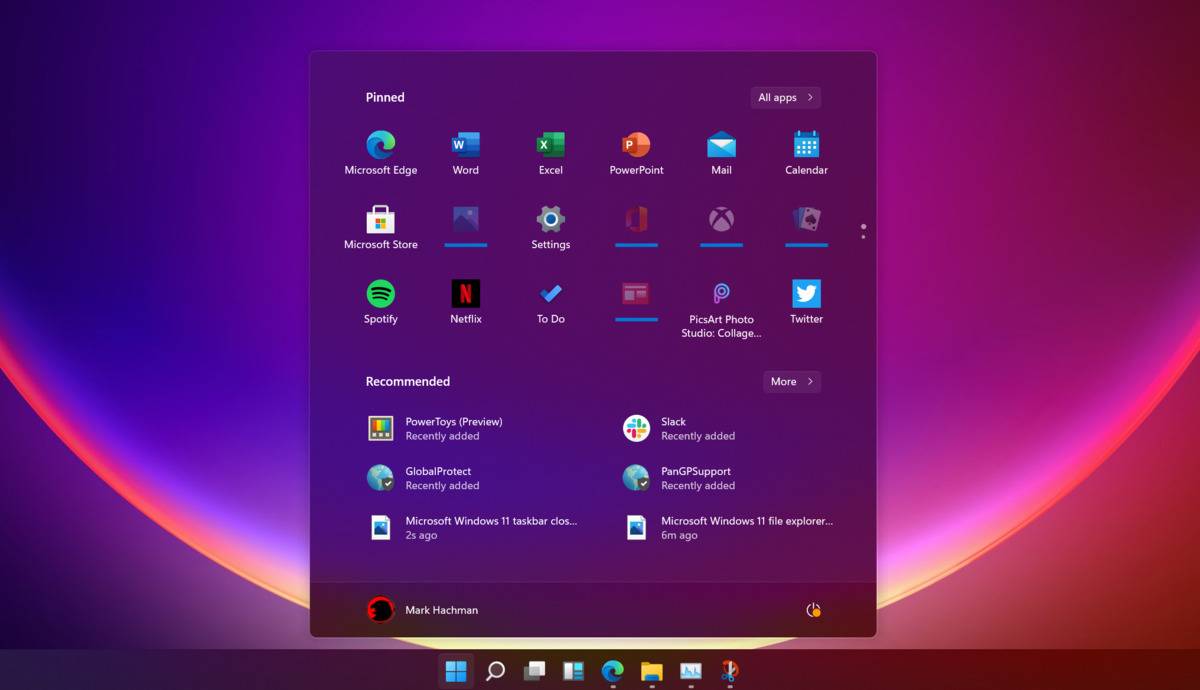
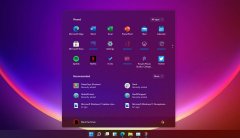
After the installation process is complete, you may be prompted to launch the software immediately. If not, you can find the newly installed application in the Start Menu or on your Desktop. It’s also advisable to check for updates immediately after installation to ensure you have the latest features and security fixes.
7. Troubleshooting Common Installation Issues
If you encounter issues during installation, consider the following solutions:
- Ensure that your Windows is updated to the latest version.
- Check for available disk space and close unnecessary applications.
- Disable antivirus temporarily, as it may block the installation.
Conclusion
Following these steps will help you install software on your Windows PC smoothly and efficiently. With the right tools and knowledge, you can enhance your system's capabilities, ensuring you always have the latest applications at your fingertips. Whether you are updating existing software or installing new apps, understanding the installation process is vital for maintaining an optimized PC.
免责声明:All articles and pictures on this site are from user sharing and Internet collection. The copyright of articles and pictures belongs to the original author and original source. They are for learning and reference only. Please do not use them for commercial purposes. If your rights are damaged, please contact the website customer service.
Related articles
-

Stay Secure: Essenti
Stay secure with our guide on essential software updates that every PC user should know. Protect your system and data with timely updates
2026-08-28 -
How to Effectively M
Discover the best practices for managing app updates on your Windows system for improved performance
2026-08-28 -
The Essential Guide
Learn the easiest and most effective methods to install software on your Windows system. Follow our detailed guide to ensure a smooth installation pro...
2026-08-28 -
Top 5 Apps You Need
Discover the top 5 essential apps you should download for your new Windows PC to enhance productivity and performance
2026-08-28 -
Windows Security Ess
Learn about essential security tools for protecting your Windows system against malware and vulnerabilities
2026-08-28